Improving quality control in the white goods industry with GapGun
The need for digitalised, fast, accurate and repeatable non-contact precision measurement tools within the white goods sector is rapidly increasing. With tighter tolerances and more competition, production managers, quality managers and metrologists are seeking a measurement solution which can quickly integrated into their processes, either inline or offline. Furthermore, white goods manufacturers need to quantify these visual improvements and therefore require a control system and measurement data to be digital.
GapGun Pro2 with T60 sensors incorporates cutting-edge technology into the 25+ year established GapGun. It builds on Third Dimension’s reputation for delivering reliable non-contact measurement solutions which have already been embedded into the quality processes of industry leaders.
Traditionally replacing manual gauges, GapGun digitalises precision measurement. This enables leading manufacturers in the white goods industry sectors to:
- Ensure an audit trail on all measurements
- Manufacture to higher tolerances
- Speed up quality control processes
GapGun Pro2 + T60 sensors can measure almost all gap, flush, seam and weld features commonly found in white goods manufacturers as well as many other feature measurements for industrial applications.
COMMON WHITE GOODS APPLICATIONS
The below demonstrates some of the common white goods applications the GapGun Pro2 + T60 can be used for but is not limited to. Also shown below, is the screen of the SPC3d software, which you can find out more about here.
CASE STUDY #1 – WASHING MACHINE BUTTONS
Manufacturers producing top-end washing machines have been increasingly looking for ways to improve the perceived value of their goods.
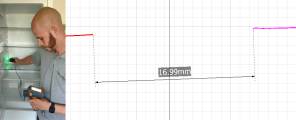
One way they are doing this is by ensuring a tight fit of parts in the assembly process. Gaps around buttons on a washing machine need to be consistent and well-fitting so measuring these elements during quality inspection is on the rise.
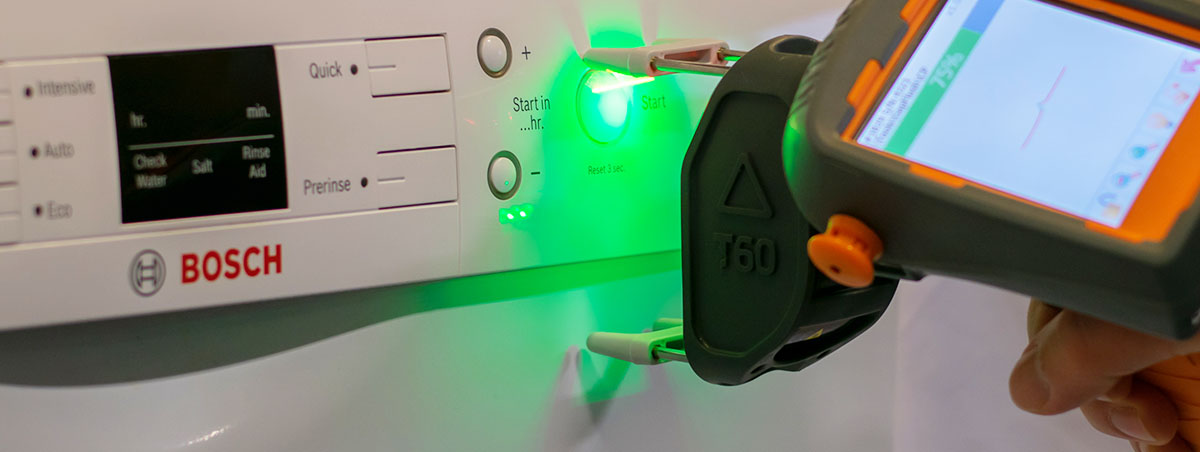
You may want to check the fit of buttons on the washing machine control panel. Using conventional gauges inherently means moving the loose-fitting buttons when lining up the gauge, and therefore you’d be unable to take an accurate measurement.
Using the GapGun, you can take measurements of the gaps around the buttons without moving them, thus increasing the quality of their goods.
CASE STUDY #2 – WASHING MACHINE DOORS
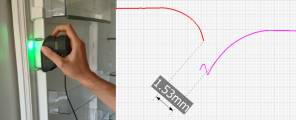
It is essential for washing machine manufacturers to ensure that the doors are a tight fit so they are watertight.
There is an increasing use of complex surfaces and finishes on their washing machine doors. With the GapGun, you can overcome this issue and capture the profile measurement of the door positioning, despite the complex finishes.
CASE STUDY #3 – OVENS
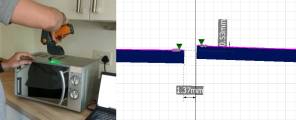
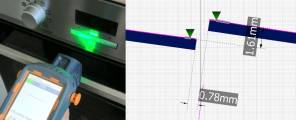
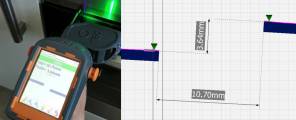
People may require a non-contact precision measurement tool and control system to analyse the alignment of parts on the ovens they produce.
This can be done by measuring the gaps between the parts of the overall product such as the gaps between the doors.
GapGun Pro with T60V sensor heads can take gap and flush measurements on a wide range of surface including those found on kitchen appliances.
